
Why Custom Boot Logos Matter for Your Miyoo Mini
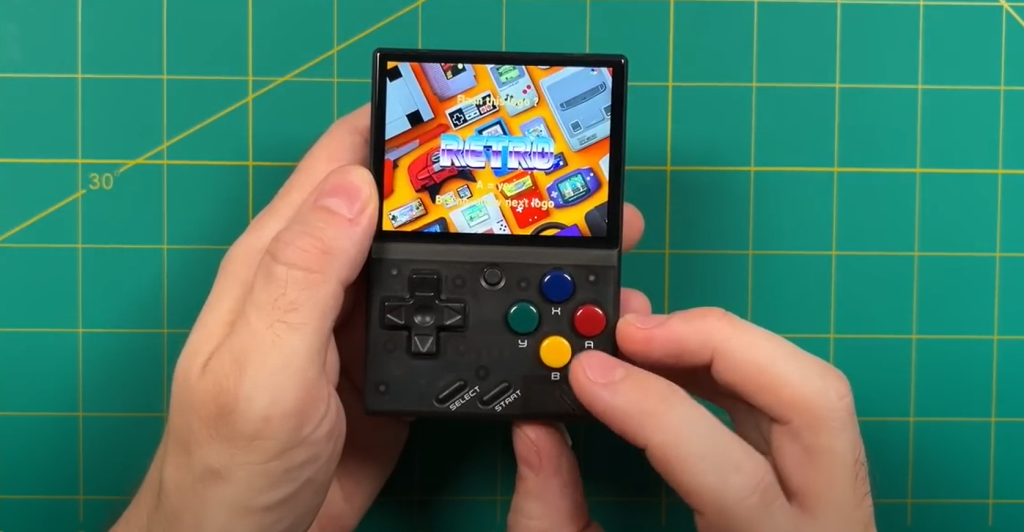
About the Product The Miyoo Mini is an impressive retro gaming handheld which features a small and compact body and the ability the play the vast library of retro games, giving you hours of fun. One of the funnest things you can do with your device is change the boot logo. BackGround on color boot logoChanging BOOT LOGO is very useful as with custom boot logo we can get rid of those ugly, manufacturer logo and can put our custom image there improving overall look of you phone. In this guide, we’ll be showing you how to install custom boot logos to your Miyoo Mini, we’ll take you through everything from picking a pre-made logo to making your very own.
1. What You’ll Need To Get Started
Before you jump into replacing your boot logo, you’ll want to have:
- Miyoo Mini with Onion OS o Mini UI installed (the method works best with Onion OS for preview purposes).
- MicroSD Card: Make sure it has enough space and is formatted correctly (FAT32 recommended).
- Computer to download and extract files.
- Logo Tweak app from GitHub, which allows you to easily flash custom boot logos.
Once you’ve got everything ready, we can begin.
2. Installing the Logo Tweak App on Your Miyoo Mini
The Logo Tweak app allows you to easily browse, select, and install different boot logos from a gallery of options. It’s available on GitHub, and installing it on your Miyoo Mini is simple.
Step 1: Download the Logo Tweak App
- Visit the Logo Tweak GitHub Page and click on the green “Code” button.
- Choose Download ZIP and save the ZIP file on your computer.
- Save the file to your desktop, and then extract the contents. There should be a folder named “Logo Tweak” in the unzipped files.

Step 2: Move the App to Your SD Card
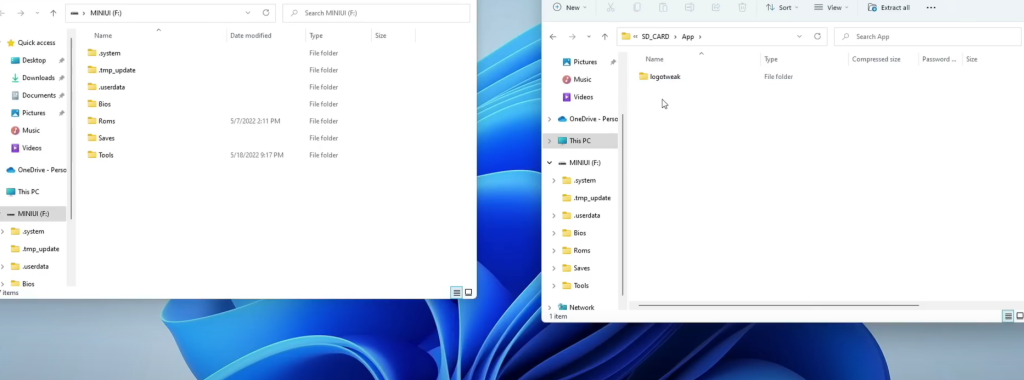
- Insert your Onion OS SD card into your computer.
- Open the SD card and navigate to the “apps” folder in the root directory.
- Copy the entire Logo Tweak folder into the “apps” directory.
- Eject the SD card safely from your computer and reinsert it back into your Miyoo Mini.
3. Using Logo Tweak to Install Custom Boot Logos
Once you have the Logo Tweak app installed, follow these steps to browse and install a custom boot logo.
Step 1: Boot Into Your Miyoo Mini and Access Logo Tweak
- Switch on you Miyoo Mini and access the “Apps” menu item from the main menu.
- You are looking for Logo Tweak, and it must be at the bottom of the list of apps.
- Select Logo Tweak to open the app.
Step 2: Browse Available Boot Logos
The Logo Tweak app provides a gallery of boot logos created by members of the Onion OS community. Use the B button to cycle through the available logos. These logos include various retro themes like Sega, RetroArch, and more.
Step 3: Choosing and Installing a Logo
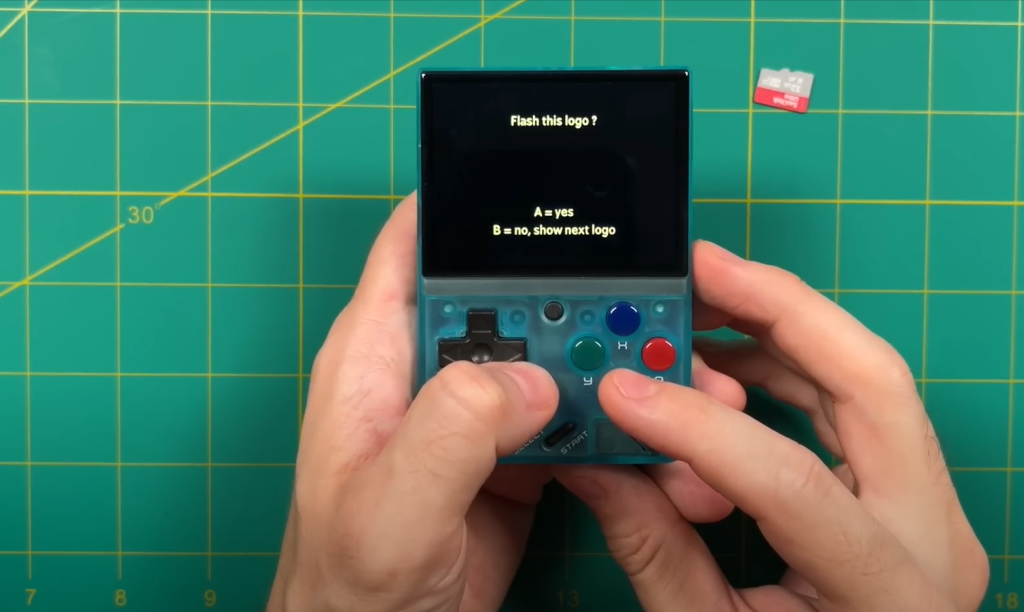
- Once you’ve selected a logo you’d like, press the A button.
- It’ll just make sure that the file size is correct and then proceed to flash the logo to the internal memory of your Miyoo Mini.
- Once installed, press any key to close the application. That does not mean you want to rock it: this is for rooting guys! It’s perfect to turn off your device after that turning it on again to witness the new boot logo.
Tip: if you don’t like that logo, you can follow these steps again to choose and flash a new logo.
4. Installing Custom Boot Logos on Mini UI
If you prefer to use Mini UI instead of Onion OS as your main operating system, you can still install custom boot logos by following these steps.
Step 1: Prepare the SD Card with Mini UI
- Plug in your Mini UI SD card to your computer.
- If there is no such folder on the SD card, create one called tools.
- Copy the Logo Tweak folder on the Onion OS SD card to the “tools” folder.
- Rename the Logo Tweak folder to “.pak” to make it compatible with Mini UI’s folder structure.
Step 2: Insert the SD Card Back into the Miyoo Mini
- Eject the SD card and insert it back into your Miyoo Mini.
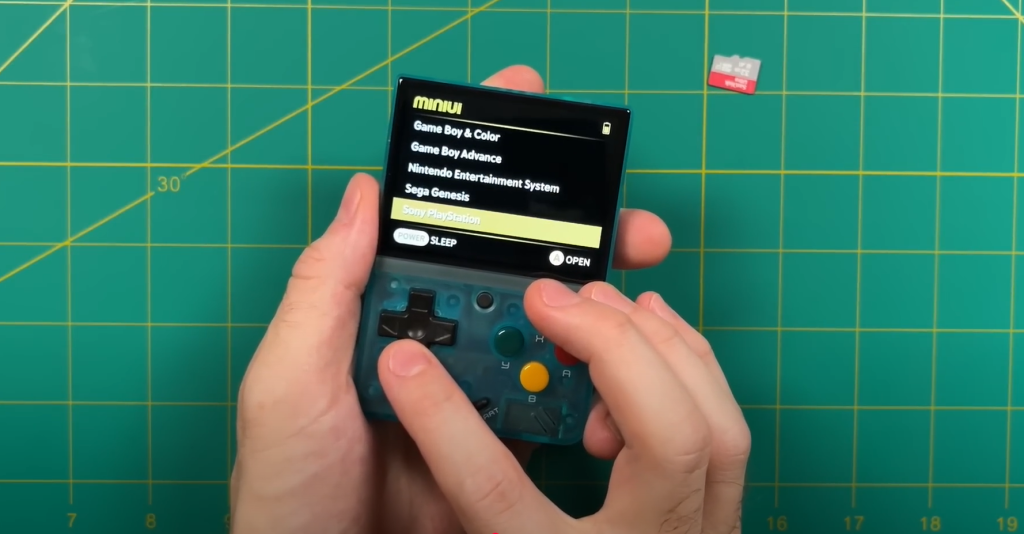
- Boot into Mini UI and navigate to the Tools section in the app menu.
- Open Logo Tweak from the Tools section and browse through the available logos.
Step 3: Flash the Boot Logo
- Once you’ve selected your logo, press the A button to install it. The logo will flash onto the internal storage.
- After the installation, shut down the Miyoo Mini and restart it to view the new boot logo.
Nota: On Mini UI, the logo preview might be a bit quick, making it harder to choose the perfect one. It’s better to use Onion OS for a clearer preview, but the process will still work on Mini UI.
5. Here’s how you can make your own custom boot logo:
And if you’d rather craft something custom instead of relying on the pre-made logos, here’s how to design and install a personal boot logo.
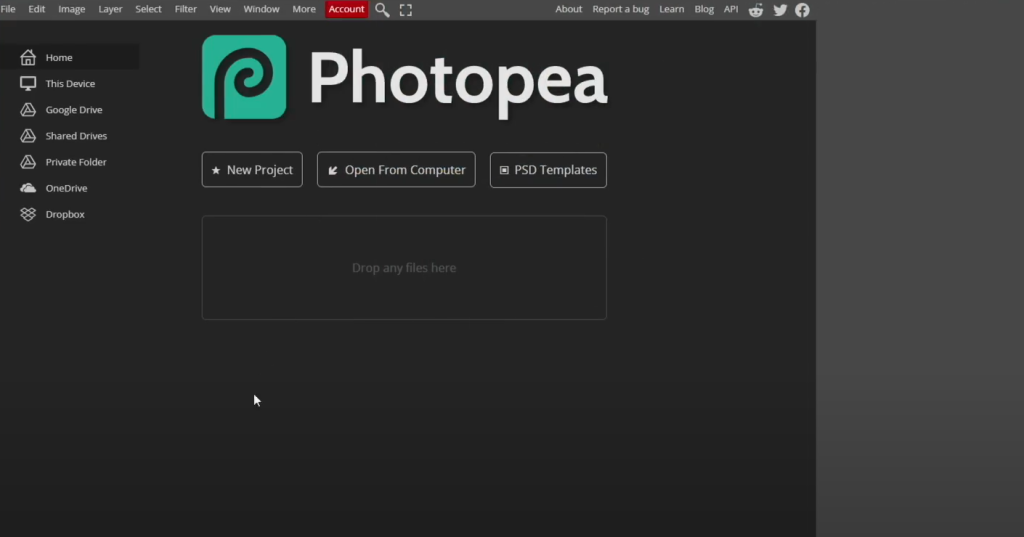
Step 1: Create the Logo With Photopea
- Start by visiting Photopea, which is a free Photoshop alternative, and create a new project of size 640 x 480 pixels.
- If you don’t like the picture above, you can import your favorite picture from your computer or make your very own design. If you are working with text or logos, ensure they look good at the resolution.
Step 2: Make the Image Suitable for the Boot Logo
- Rotate the Image: Enter rotate into the search box and choose Rotate 180° to adjust the image for the device.
- Change the Brightness: Type brightness right in the search bar and set the brightness to as low as 50%.
Step 3: Export the Image as JPG
- When you’re satisfied with your image, follow this route: File > Export As > JPG.
- Name the file image1. jpg (no spaces).
- Ensure the image file size is under 30 KB for compatibility with the Logo Tweak app.
Step 4: Transfer the Custom Logo to the SD Card
- Create a new folder on your computer (e.g., miu-rgc).
- Place the image1.jpg file in this folder.
- Insert your Onion OS SD card into your computer and navigate to Apps > Logo Tweak > Logos.
- Copy the custom logo folder (miu-rgc) into the “logos” folder.
6. Installing Your Custom Boot Logo
- Eject the SD card and reinsert it into your Miyoo Mini.
- Open Logo Tweak and navigate to the miu-rgc folder (or the folder you created for your custom logo).
- Select your custom logo and press A to install it.
After the logo is installed, power off the device, then turn it back on to see your custom boot logo in action.
7. Show Off Your Customization
Changing your boot logo is a fun and easy way to make your Miyoo Mini feel more personal. So whether you are using the included logos, making your own or you are swapping between Onion OS and Mini UI, hopefully everything you needed is in this guide to customise your device.
You’re welcome to try out other logos; remember, you throw the new logo away and get your original back anytime you like.
Additional Tips
Customizing Further: If you want to explore other advanced features, look for additional tutorials on Onion OS o Mini UI customization.
Backup Your Data: Before flashing custom logos, always back up your device to avoid the risk of data loss.
Image Quality: Keep the image file size under 30 KB to ensure compatibility with the Logo Tweak app.
Refer: https://www.youtube.com/watch?v=fMhtj9VQRSk